Setting Powder Doesn’t Have to Look Cakey, Here’s How to Properly Use It
Set without the heaviness.
I don’t know about you but I was busy enjoying regular makeup while people were ‘baking’ their makeup with a setting powder. For me, using any type of powder complexion product has the potential to look heavy and cakey.
While I still think that baking isn’t for everyone, I’m convinced that setting powder, when used properly, can actually make your makeup look even better! If you’re new to it, not sure if you need it, or don’t know how to use it, here’s your beginner’s guide to setting powder and how to use it.
What is setting powder?

Setting powder is a face powder that comes in a finely milled loose form, or compressed form. It comes in a few skin shades but colorless, translucent setting powder is more common because it’s more versatile.
These days, most people think of translucent loose powder when they think of setting powder. It’s become the mainstream type.
What is setting powder used for?
Setting powder is used to set your makeup into the skin. It binds with wet makeup like foundation and concealer. And it gives you a blended, soft matte finish as opposed to the visibly wet finish you get from wearing foundation.
Setting powder also sets your makeup in place and helps extend its wear. It makes it so that you don’t need a lot of touch-ups later on in the day.
Because it’s powder, setting powder has a mattifying effect on the skin. It soaks up oil from the skin, resulting in a shine-free base, which is why it’s a must-have for sweat-proofing your skin in summer.
Setting powder is also commonly used in baking makeup. Baking is when you apply large amounts of setting powder on certain areas such as under-eyes, leave it there for about 10 minutes, and dust off the powder to reveal a smooth base.
But the most important benefit of a setting powder is its ability to blur out skin imperfections. Setting powder reduces the visibility of fine lines and wrinkles, and blurs out the look of pores on the cheeks and on the nose.
What is the difference between loose powder and pressed powder?
Again, setting powder can come in loose and pressed form. Each has its advantages and disadvantages and it becomes a matter of preference.
Pressed
Compact, pressed setting powder requires a soft hand because it’s very easy to overuse, resulting in heavy makeup. It usually performs better when it’s tinted as opposed to translucent.
On the other hand, it’s better as a finishing, or mattifying powder when your makeup is done and you just need to make your finished look matte.
It’s also great for touch-ups on oily skin because it gives a more precise application. You can press it onto the oily areas of the face to soak up oil when your face gets shiny during the day.
Loose
Loose setting powder, on the other hand, isn’t as precise. Though the application can get messy, loose powder settles on the skin without creating this stamp-like effect.
So the applied area looks smoother and softer as opposed to visibility powdery. It has this soft-focus effect on the skin, which makes your face look airbrushed like a real-life filter.
It’s also the better choice for making your makeup long-lasting and actually prevents the need for multiple touchups during the day.
Should you use translucent or tinted setting powder?
This depends on your makeup needs and preferences. As a general rule of thumb, go for translucent setting powder if you’re already wearing foundation and base makeup and you just need to bake or set your makeup in place.
Tinted powders give you a more even skin tone with their shade. So go for tinted setting powder if you’re not wearing foundation or wearing little, and you could use a bit more coverage.
Personally, I leave coverage to my concealer and foundation. And I’m not good at finding my shade. So I don’t need another makeup product that requires me to find a shade match. So I’m all for the translucent shade.
When do you apply setting powder?
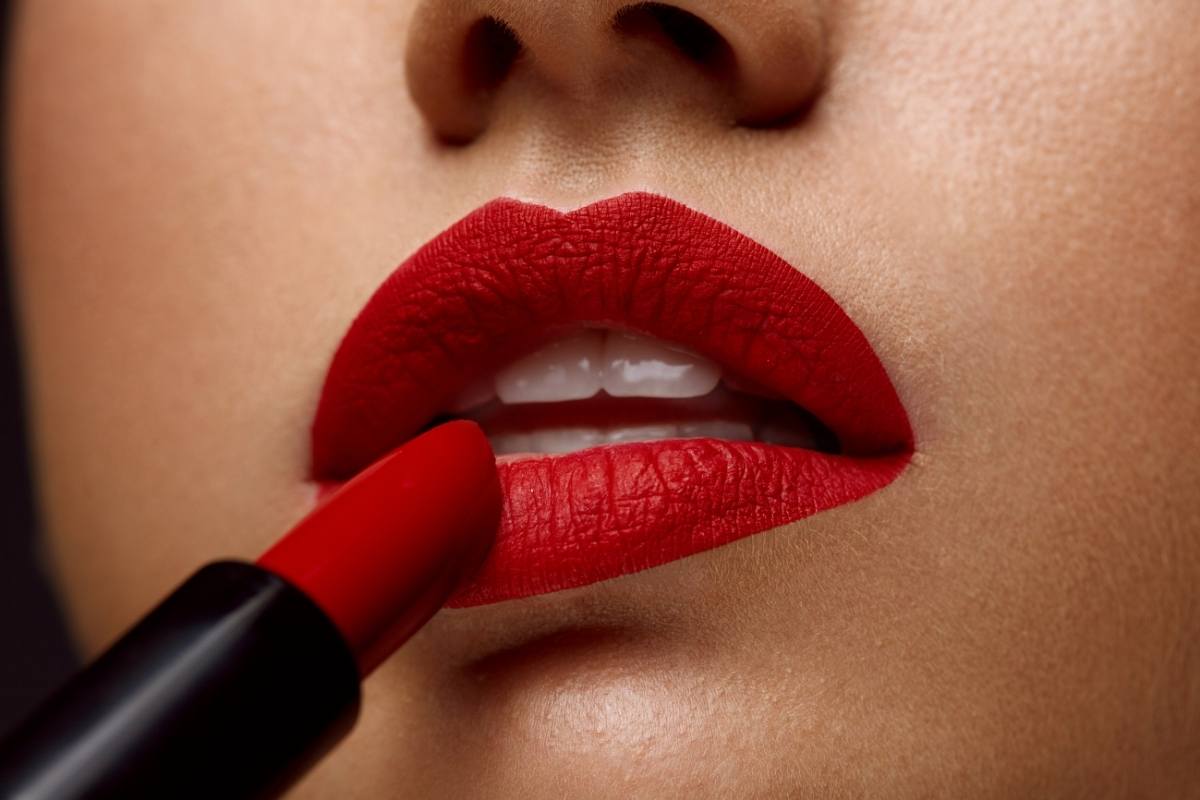
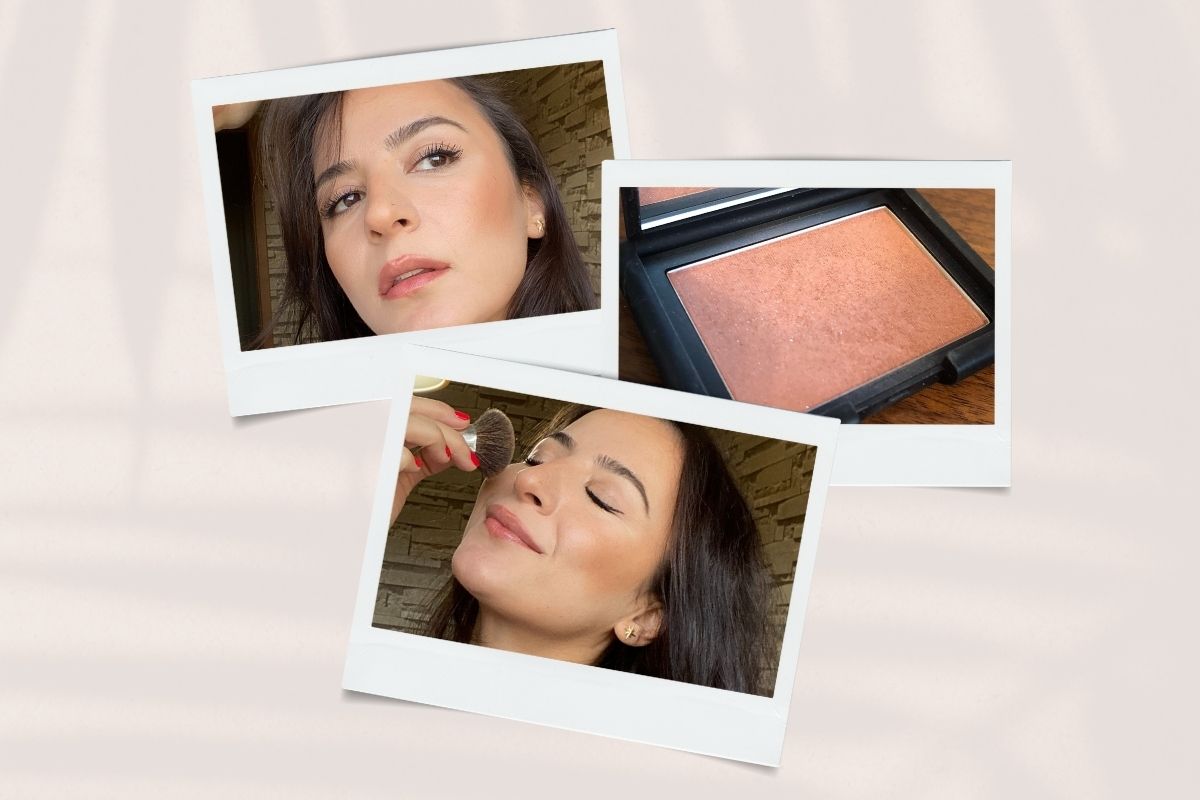
Setting powder is used after complexion products like foundation and concealer and before powder products like bronzer and blush.
Because its effects are most visible when you use it on cream-based, liquid products. Once you apply your setting powder, you can then move on to applying bronzer and blush.
What do you apply the setting powder with?
You can apply setting powder with a beauty blender, a powder puff, or a fluffy powder brush.
Beauty blender gives you a more precise placement. That’s why it’s commonly used for baking your makeup, setting under-eye concealer, or when you need to brighten and highlight certain areas on the face.
Powderpuff gives you a similar result because of the way it picks up the product and places it on the skin. It picks up a lot of product and just lays it onto the skin.
A powder brush is more versatile because you can use it to lightly dust the powder all over the face, which gives you a more diffused and natural look. I prefer the brush because it doesn’t highlight any particular area but just gives me an overall smoother makeup.
Where do you apply setting powder?
Usually, you apply setting powder on the forehead, nose, and chin. These are the areas that usually need that matte finish. Personally, I just go all over my face because I like to use it on my cheeks to blur out my pores too.
This method is better if you have fine lines and wrinkles and smile lines. Instead of focusing on one area, which might actually accentuate texture irregularities, applying it very lightly all over the face gives you an airbrushed finish.
How do you apply setting powder?
Step 1: Get a small amount
To apply setting powder with your brush, tap the lid of the setting powder to get the loose powder out. Some people pour the powder on the lid as well. That works better if you’re using a sponge or puff. Get a tiny bit of loose powder on your brush and tap off the excess.
Step 2: Apply powder
Use a very soft hand and dust the powder on the big areas of the face like your forehead. Gently swirl the brush to work the powder into the skin. If you’re using a sponge or a powder puff, press it into the skin instead of swirling.
Step 3: Layer slowly
You don’t need a lot of powder to achieve the desired result. In fact, too much setting powder can make your makeup look very unnatural and heavy. And it can make your face look super white and flat. So remember to build it slowly. Apply one layer first. If you need more, get a little bit more on your brush and go over the same areas again.
Step 4: Finish the rest of your makeup
Once you’re done applying setting powder, finish the rest of your makeup and apply your bronzer and blush. Remember that applying setting powder is not the same as baking. Baking is a makeup application method that involves setting powder. So unless you’re baking your makeup, you don’t need to apply large amounts of setting powder and you don’t need to remove it.
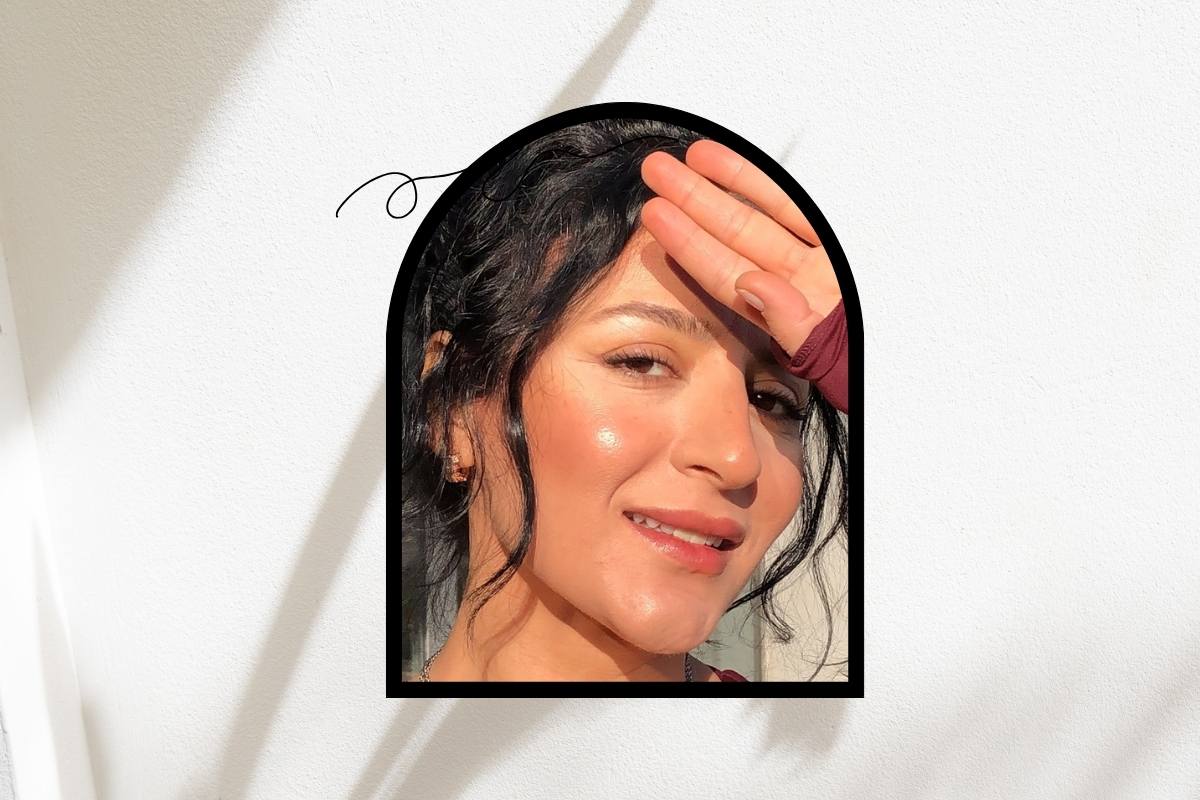
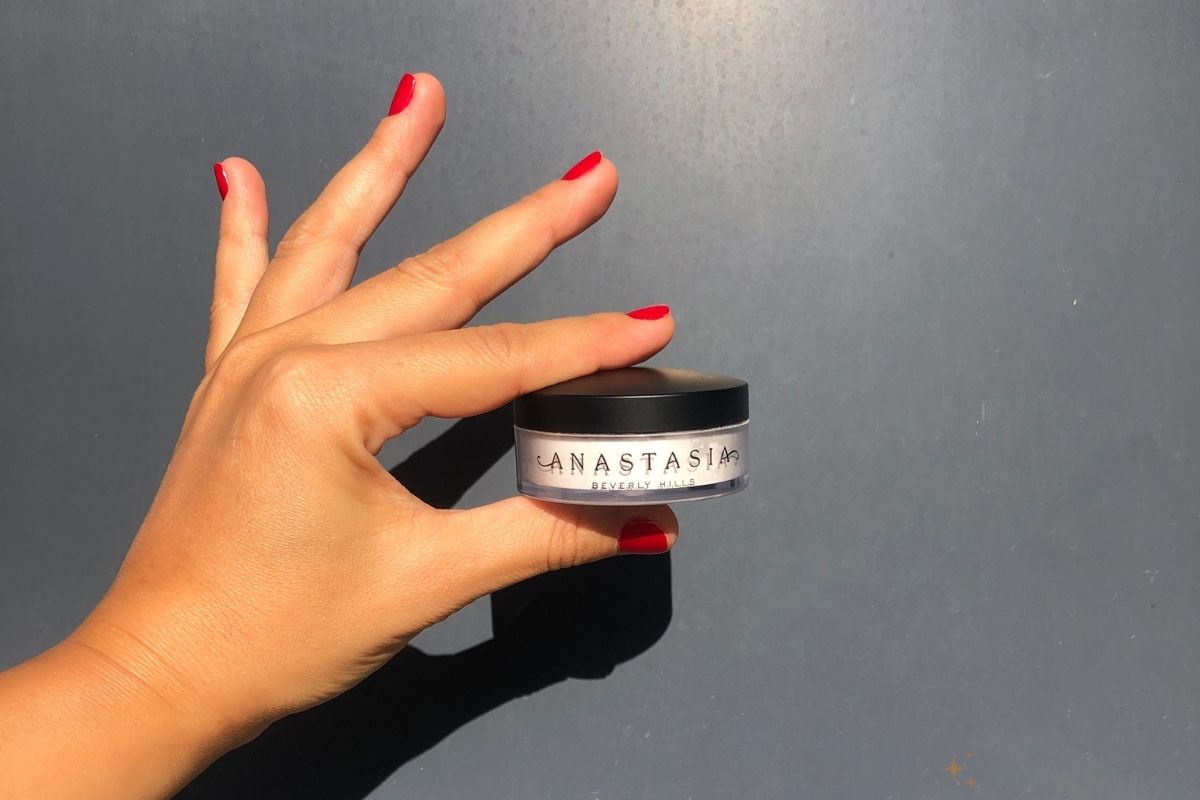
How does setting powder look on the face?
For the image below, I used Anastasia Beverly Hills Loose Setting Powder in Translucent and applied it with Chanel Brush N110.

I used a very small amount of powder to lightly diffuse it all over my face. I focused on the center of my face and didn’t bring the powder too close to my under eyes. That just magnifies my under-eye wrinkles.
You can see from my after photo that my pores are smoother and my smile lines are blurred out. Plus, my complexion is significantly matte and doesn’t reflect light. That’s why there’s no visible glare or shine in the after photo.
Should you put setting powder under your eyes?
You can put setting powder wherever you want. But know that large amounts of powder usually don’t pair well with fine lines and wrinkles. While applying a thin layer of setting powder on the under-eye area can give you smoother skin, applying more will be counterintuitive.
That area is very animated. So there will be creasing. To avoid that, apply a very small on the under-eye area and apply it loosely with a brush, instead of precisely with a sponge.
Is setting powder suitable for dry skin?
Anything powdery sounds like it’s going to be great for oily skin and not so much for dry skin. The thing is setting your makeup is a need for all skin types.
So you can use it even if you have dry skin. However, if powder looks patchy on your skin and doesn’t give you the smooth finish you want, you might want to make some changes in your skincare.
Make sure you moisturize enough and use a foundation suitable for your skin type. If you take good care of your skin, there’s no need to skip using a setting powder.
But if you simply can’t make it work for dry skin, consider using a setting spray instead of a powder. It also makes your makeup last longer and gives you smooth skin, but it doesn’t make your skin look dry.
So this is how setting powder works. Again, to get the best results, use small amounts. And it’s the same for your makeup too. Applying more concealer and then baking results in creasing whereas applying very little concealer and setting it with very little powder results in a more natural, seamless look. So remember, less is more!
Read Next: Must-Have Makeup Products for Winter