How to Apply Concealer (Like You Know What You’re Doing)
Brighten, lift, disappear.
If you’ve ever watched a concealer application tutorial, tried to copy it, and ended up looking… worse, this one’s for you.
Because turns out, there’s a right-ish way to apply concealer, and no, it doesn’t involve painting giant triangles under your eyes like it’s 2016.
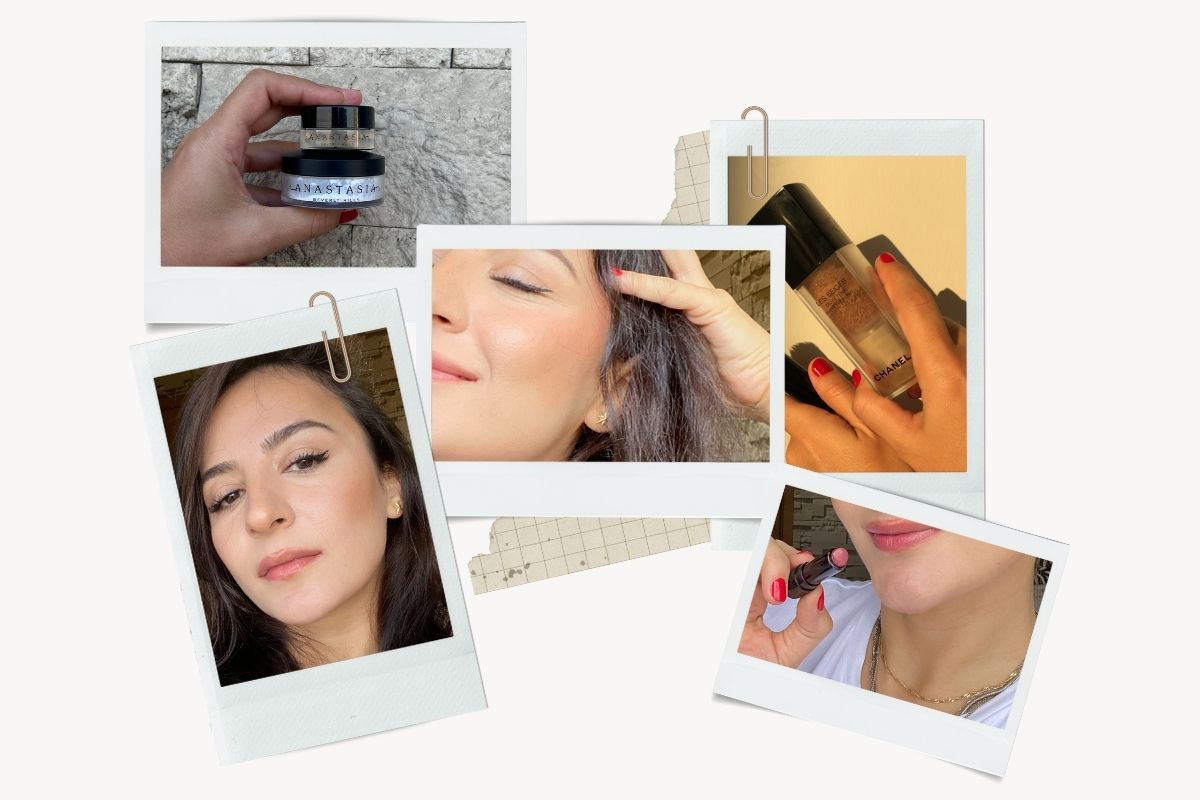
But before you go stabbing a doe-foot at your face, make sure you’re actually using the right concealer. To make sure, check out our no-fluff concealer guide, which breaks down the types, finishes, and shades that won’t betray you five minutes in.
Whether you’re hiding under-eye circles, rogue pimples, or redness around your nose, the key is knowing how and where to apply it.
Step away from the mirror for a minute and take a look below. Here’s how to actually apply concealer like you’ve got it together.
How to Apply Concealer
Step 1: Prep Your Skin
Let me tell you right away that applying concealer on dry patches equals disaster! So this is pretty much non-negotiable.
That is prepping your skin. Cleanse your face, moisturize, apply eye cream, and if you’re feeling fancy, use an under-eye primer for better hold.
The prep step helps you blend the concealer in more easily and also helps with achieving a smoother, flake-free, streak-free finish. Let your skincare absorb for a few minutes before you move on to makeup application.
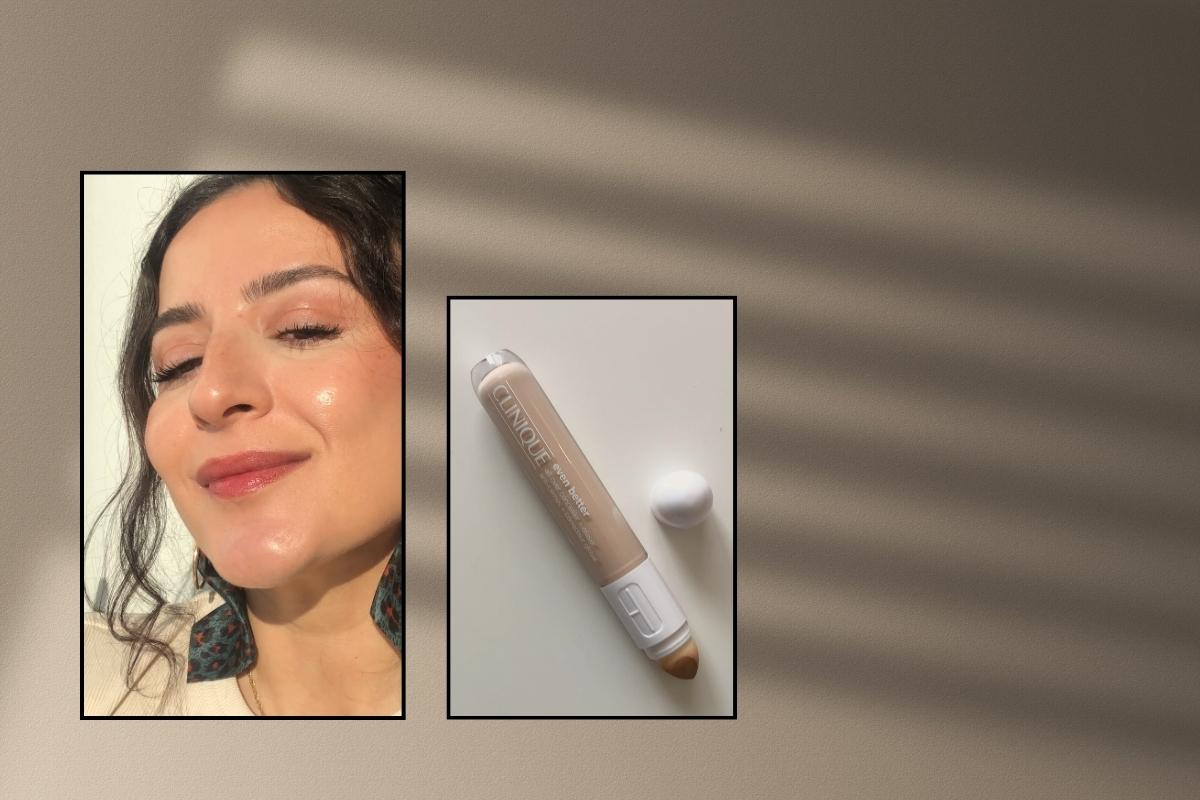
Step 2: Pick the Right Concealer
While most of us get by with using a single concealer all over the face, not all concealers do the same thing. To get the best results, pick the concealer depending on your goals.
- For under-eyes, go for a light to medium coverage, hydrating, slightly neutral or peach-toned shades to cancel darkness.
- For blemishes, go for a matte formula and a shade that closely matches your skin tone. Thicker formulas have better staying power on the face.
- For heavy redness and discolorations, consider color correcting concealers such as green for redness, peach and salmon for darkness, and slightly purple for sallow areas.
Step 3: Use the Right Tool
Use a brush, sponge, or your ring finger to apply concealer. Though this usually depends on preference and where you’re applying your concealer, there are some general rules to keep in mind.
- Finger gives great warmth and light pressure, which is ideal for the under-eyes.
- A makeup sponge is great for achieving a soft, seamless finish, especially if your concealer tends to leave finger marks.
- Brush is great for spot-concealing and precise application and placement.
Step 4: Apply Concealer Under Your Eyes
The under-eye area is the most common area for concealer use. It helps conceal dark circles, smooth the appearance of fine lines, and freshen up and brighten the area.
For this, you’ll want to use something lightweight and hydrating. Concealers with slightly peachy undertones help cancel out under-eye darkness. Here’s exactly how to do it:
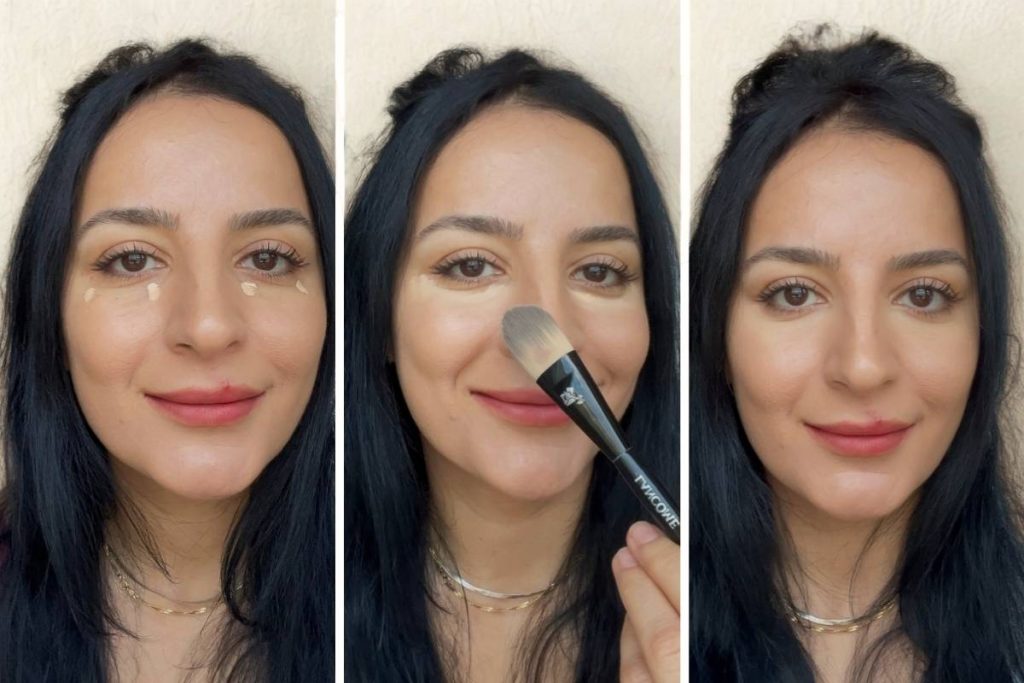
- Dot a small amount of your concealer on the inner corners of the eyes, some below the eyes, or on the outer corners for a lifting effect. Don’t smear it.
- Starting from the darkest area and blending towards the lighter area allows you to use less where you don’t need much coverage.
- Use your brush/sponge or your ring finger to apply using tapping motions. Avoid wiping.
- Apply only where needed and skip applying the heavy triangle all over the area.
- Let the concealer sit for about 10-15 seconds before blending in for smooth, high coverage.
Step 5: Apply Concealer on Blemishes and Acne
Concealer isn’t just for brightening; it’s also for covering up stubborn discolored areas on the face, especially when your foundation isn’t enough.
To conceal blemishes, acne, and any texture spots, go for matte finish, full-coverage concealers that don’t reflect light.
Avoid hydrating formulas here as they usually slide off. It’s best to match your concealer shade to your skin tone and foundation. Your aim is not to brighten the blemishes but to match them to your skin tone and flatten them out.
I like to apply concealer before applying foundation when I’m spot-concealing. While some do the exact opposite, I think my way works better as I want my foundation shade to be more prominent on my face than my concealer is in case there’s a shade difference.
- Pinpoint the area that needs spot-concealing.
- Dab the concealer directly onto the blemish using a small brush or your tool of choice.
- Let it sit for a few seconds so it doesn’t thin out right away, which reduces the coverage you’ll get.
- Blend just the edges of the concealer with your brush, and leave the center untouched for maximum coverage.
- After it dries down, move on to your foundation and softly dab your foundation over spot-concealed areas.
Step 6: Apply Concealer Around the Nose
The creases around the nose are where most of us see redness. Plus, some of us deal with redness all over the face, even rosacea, which might require some more spot-concealing.
To conceal redness on the sides of the nose, go for medium/full coverage concealers with a natural finish, like the one you use on your face or something similar to that. Again, it’s best to match the concealer shade with your skin tone.
- Apply a very thin layer of the concealer on the corners of the nose. Think a dot on the left and a dot on the right.
- Don’t overdo this because this area creases a lot.
- Use a small brush or a sponge and blend it outward into the center of the face where you apply foundation.
- Consider setting your concealer very lightly if it tends to break up in that area.
Step 7: Set It or Don’t
I’m not a huge fan of setting my concealer with powder, but then again, I’m an anti-social homebird. But know that setting your concealer with powder, preferably a light, finely milled formula, can minimize creasing, set your makeup in place, and make it last longer.
- For under-eyes, only lightly dust the setting powder over the concealed area, or press a powder puff into the skin. No baking, no caking, just locking it in.
- For blemishes, press a tiny amount of powder into the skin using a puff to lock it in.
- For your face, it’s best to set with a setting spray instead of a setting powder when you spot-conceal areas all over the face.
So this is how to apply concealer on the most commonly used areas, like your under-eyes to brighten and on the face to cover up blemishes. Concealer is an incredibly versatile product, and it’s not for coverage only. It can be used to sharpen your eyeliner to make it sleeker, to brighten the brow bone after filling in your brows, and so much more! We’ve covered different ways to use concealer to get the most out of that fancy tube!